Mounting plug-in solar: railing, wall, fence or ground
Where the panel goes decides how much it makes, what your landlord or HOA will say, and how well it survives a storm.
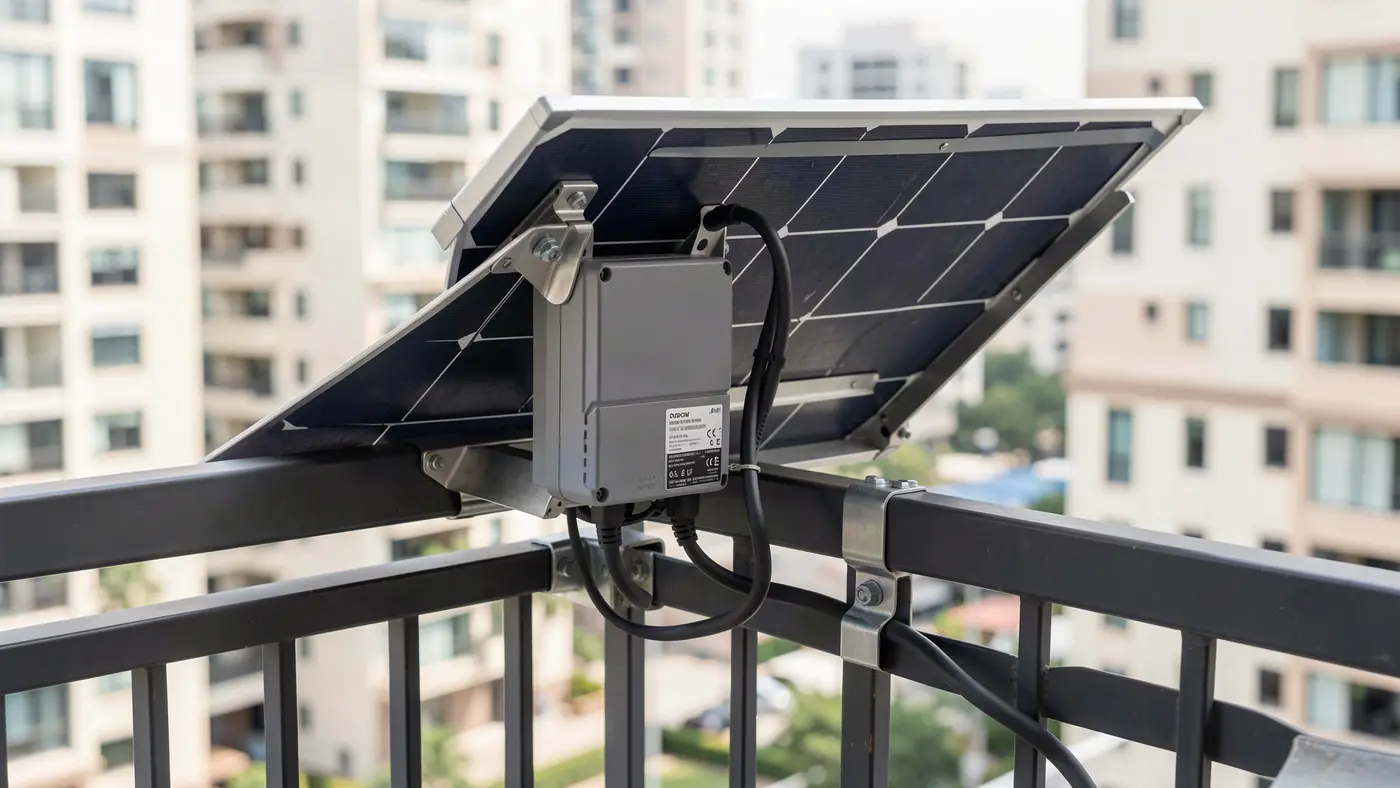
1. Balcony railing
The classic setup. Clamps or hooks hold the panel on the outside or inside of the rail, usually hanging vertically or tipped outward a little. US Solar Supplier's kit includes a SunModo awning/balcony mount for this.
- Pros: no drilling, easy to remove, visible to the sun on south-facing balconies.
- Cons: fixed angle and direction, shading from balconies above, and anything hanging outside the rail line may break building rules.
2. Wall or fence
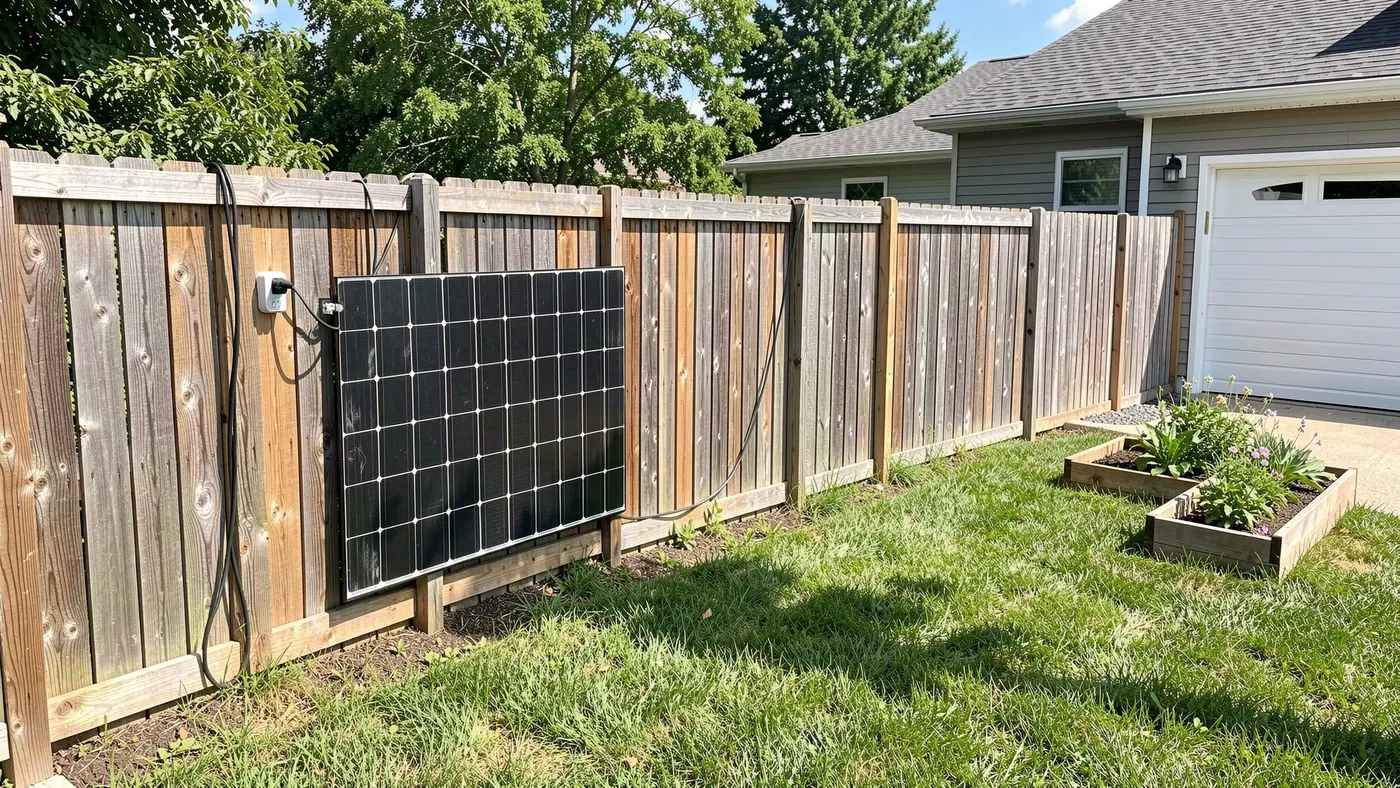
A panel bolted flat to a sunny wall, fence or shed. Good for houses and townhouses with a south-facing surface. Drilling usually means you own the place or have written permission; Vermont lets landlords require a licensed electrician for work like this.
3. Ground stand
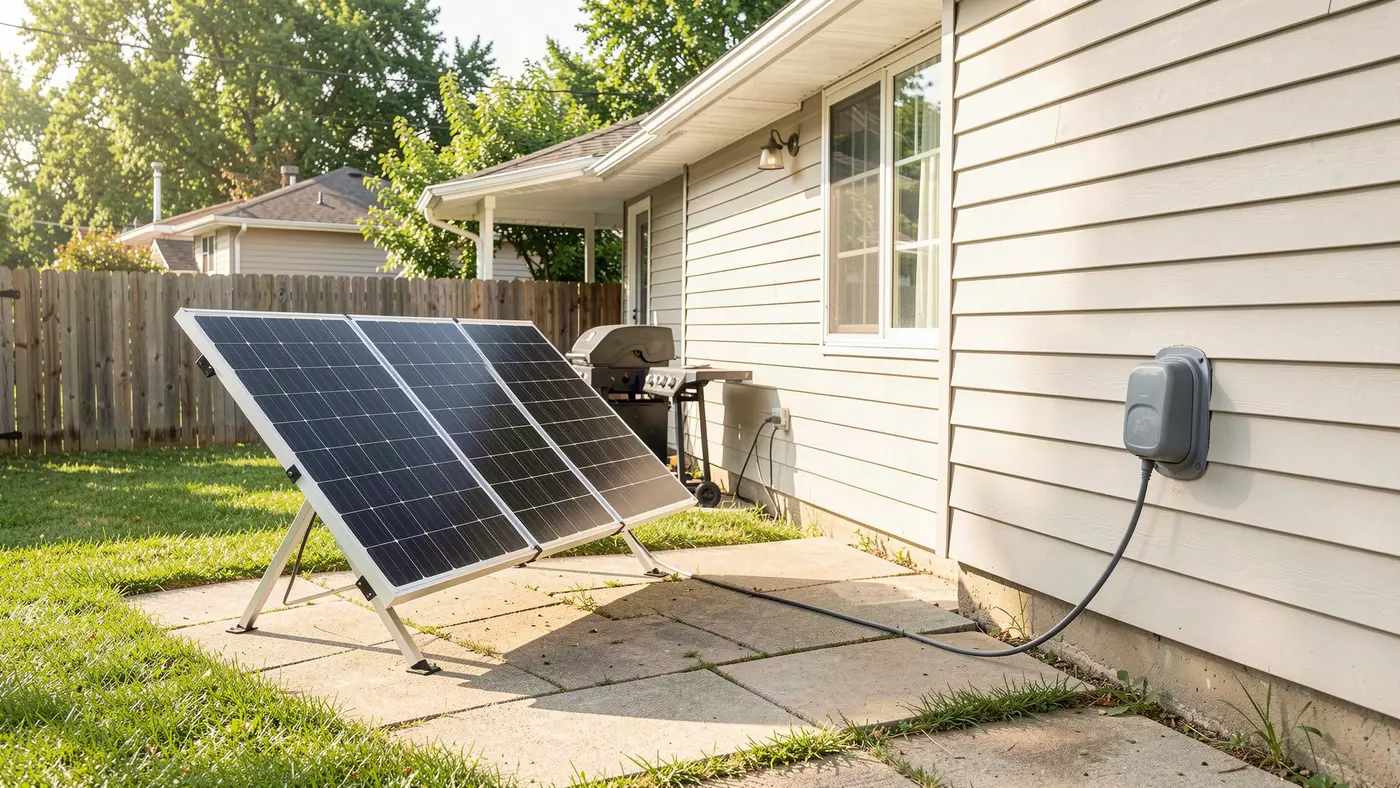
An adjustable stand on a patio, deck or lawn. You choose the tilt and direction, which can add a lot of output (see the sun simulator). Weigh it down or anchor it, and keep the cord out of foot traffic.
4. Inside a window
Glass blocks some light and the angle is rarely right. It's the weakest option; skip it unless nothing else works.
Wind, weight and falling objects
- A panel acts like a sail. Use a mount made for your railing or surface, and follow its wind guidance.
- Check what your railing is built to hold before adding weight to it.
- On upper floors, a falling panel is a serious hazard to people below. This is the first thing a landlord or board will ask about; Colorado's law lets associations require devices be secured to your own unit or balcony.
Running the cord
Keep it short, off the walkway, and out of door jambs and windows where it can be pinched. It should reach an outdoor GFCI outlet without an extension cord. More in circuits and outlets.